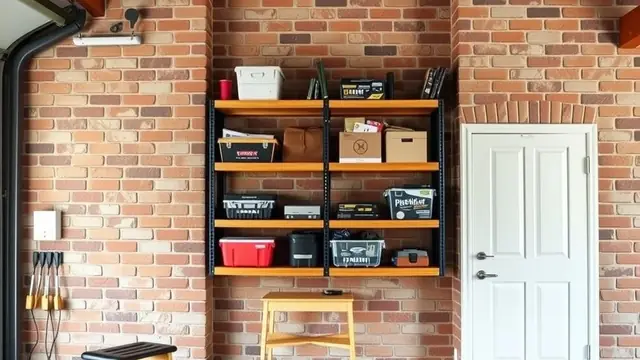
DIY garage storage that holds
Build garage shelves that carry real weight: plywood spans, 2x4 racks, French cleats, anchors, load math, finishing, and mistakes to avoid.
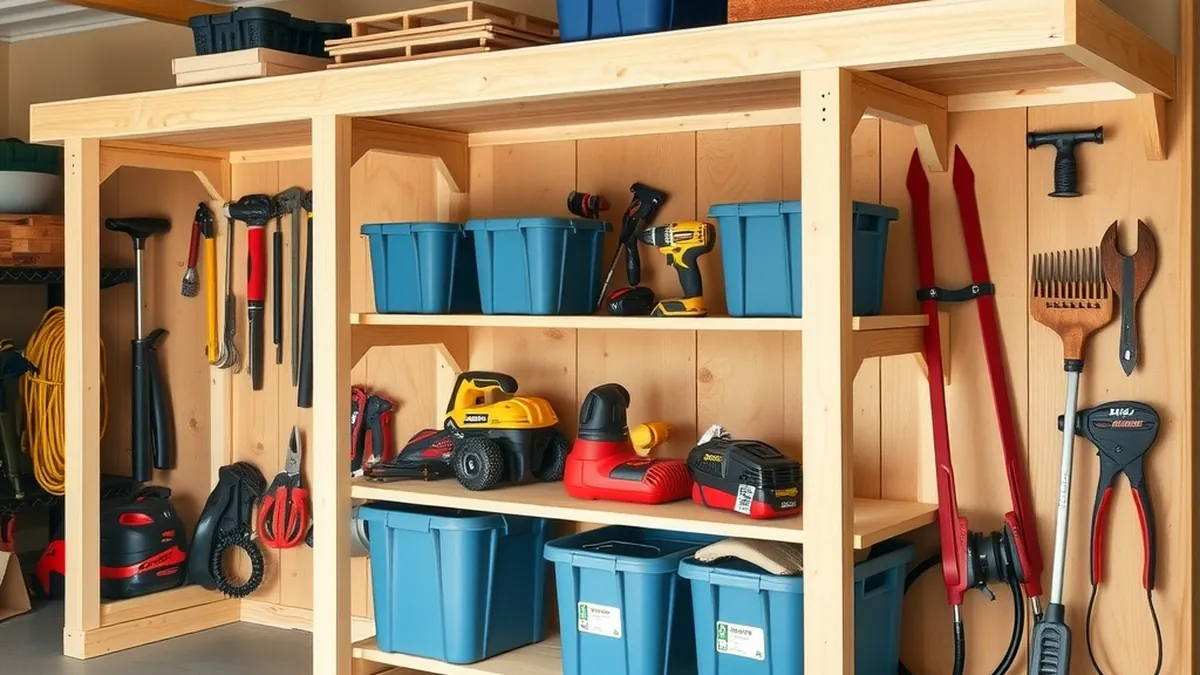
Build shelves from 3/4-inch plywood on a 2x4 frame anchored into studs, keep supports at 24 inches or closer, and size fasteners for the load. A 16-square-foot shelf at 40 lb per sq ft needs 640 lb of support.
- Shelf surface
- 3/4-inch plywood
- Support spacing
- 24 inches on center
- Wall fastener
- 3/8-inch lag screws into studs
- Planning load
- 40 lb per sq ft, an estimate
- Shelf depth
- 16 to 24 inches
Some links on this page are affiliate links.If you buy through them we may earn a commission at no extra cost to you. We do not accept payment for rankings. Read the full disclosure.
A DIY garage shelf holds when the load path is right: plywood thick enough for the span, a frame that spreads the weight, and fasteners that reach the studs. Most failures are not the lumber. They are a shelf anchored into drywall, a span that is too long, or a load concentrated on one bracket.
DIY garage storage is shelving or racking you build and install yourself, sized around the wall framing, the ceiling height, and the weight you actually plan to store.
Start with the load, not the lumber
Measure the shelf area first. An 8-foot shelf that is 2 feet deep is 16 square feet. At a planning load of 40 pounds per square foot, that shelf has to carry 640 pounds. That 40 figure is a conservative estimate for dense garage storage, not a code rating or a manufacturer’s number.
Then divide by the number of supports. If the shelf is fastened at four studs, each connection sees roughly 160 pounds when the load is even. That is why the ledger needs lag screws into sound studs, not four drywall anchors.
Point loads are worse than the average. A 100-pound tool chest sitting on 2 square feet is a 50-pound-per-square-foot local load, higher than the 40-pound planning figure. Put heavy, compact items over a stud or a bracket, and spread bulky items across the span.
Materials for an 8-foot shelf
| Material | Quantity | Typical cost | Purpose |
|---|---|---|---|
| 3/4-inch plywood, 4 by 8 ft | 1 sheet, ripped to 16 in. | $60 to $90 | Shelf surface |
| 2x4 by 8 ft | 4 | $4 to $6 each | Ledger, braces, frame |
| 3-inch #10 construction screws | 1 lb box | $12 to $18 | Frame assembly |
| 3/8 by 4-inch lag screws and washers | 8 | $10 to $15 | Wall anchoring |
| Wood glue | 1 bottle | $6 to $10 | Joints |
| Primer and enamel | 1 quart each | $35 to $55 | Moisture resistance |
| Sandpaper | 3 sheets | $8 | Finish |
The total is about $150 to $220 for one 8-foot shelf, assuming you own a saw and a drill.
Plywood shelves: thickness and span
Three-quarter-inch plywood is the default for garage shelves. It is the common choice for 24-inch support spacing, takes screws without splitting at the edges, and resists moisture better than particleboard.
Support spacing is the control. At 24 inches on center, a 3/4-inch shelf is a common garage build. At 36 inches, expect visible sag under books, paint, or tile. If the studs are 24 inches apart, use every stud. If they are 16 inches apart, every stud is still the safe choice; skipping one leaves a 32-inch span, beyond the 24-inch limit.
Add a front stiffener if the shelf is longer than 6 feet. A 1-by-2 or 1-by-3 screwed and glued to the front edge acts like a beam and reduces the bounce in the middle. It also gives the shelf a clean edge.
Do not use MDF. It is flat and cheap, but it sags under sustained load and swells permanently if it gets wet. A garage is a damp, temperature-swinging place; plywood is the safer choice.
The 2x4 rack and the French cleat
A 2x4 rack uses a horizontal ledger screwed into the studs, vertical legs or diagonal braces, and a plywood deck. The ledger carries the back edge; the braces carry the front. Cut the braces at 45 degrees or use a triangular gusset so the shelf cannot rack sideways.
A French cleat is two matching 45-degree rips. One half screws into the studs, the other attaches to the shelf or cabinet. The bevel pulls the two halves together as the load pulls down, so the shelf tightens against the wall instead of pulling away. Use 3/4-inch plywood or a clear 1x4 for the cleat, screw it into every stud it crosses, and add a small safety screw so the shelf cannot lift off.
Both methods need the same thing: solid framing behind the drywall. A cleat screwed through drywall into air is decoration. Mark the studs before you cut, and confirm the marks with a magnet or a thin nail.
For heavy racks or a shelf that will hold engine parts, have a carpenter or engineer review the design. The arithmetic above is a planning tool, not a structural calculation.
Anchors: wood, concrete, and drywall
Into wood studs, use lag screws with washers. A 3/8-by-4-inch lag screw is a common size for a shelf ledger; drill a pilot hole smaller than the screw shank so the wood does not split, and drive it until the washer seats. Two screws per stud is better than one.
Into concrete, use wedge anchors or masonry screws sized for the hole. Drill with a hammer drill, clean the dust out of the hole, and drive the anchor to the specified depth. Stay out of mortar joints in block walls, and use a hollow-block anchor if the block is not solid.
Into drywall alone, use nothing for a shelf. Drywall anchors are rated for pictures, mirrors, and light trim. A loaded shelf creates a pull-out force that will enlarge the hole and drop the shelf.
Before drilling, check for wiring, plumbing, and gas lines. A stud finder with an AC mode helps, but it is not a substitute for knowing where the service runs. If you are unsure, call a licensed electrician or plumber before you drill.
Finishing that survives a garage
Sand the shelf, ease the edges, and prime all six faces, including the end grain. Paint the underside too; an unfinished bottom absorbs moisture from the air and from damp items stored on the shelf below.
Use a primer plus two coats of enamel or porch paint. A garage shelf takes oil, paint cans, road salt, and humid air. A gloss or semigloss finish wipes clean and resists sticking.
Keep the bottom shelf at least 4 inches off the floor. Garage floors sweat and wash down, and a shelf sitting in a puddle will wick water into the plywood. A 1/2-inch gap between the shelf back and the wall also lets air move and keeps condensation from trapping.
Five mistakes that cost you the shelf
- Anchoring only into drywall. The shelf may hold for a month, then pull out under a load or a bump.
- Spanning too far with thin plywood. Sag is permanent, and a sagging shelf dumps items toward the wall.
- Screwing the ledger through baseboard or a shelf lip. The ledger must sit tight against the wall and bear on the studs, not on trim.
- Loading one end. An uneven load twists the frame and pulls the fasteners on the heavy side.
- Skipping the finish. Bare plywood swells at the edges, and the shelf loses stiffness where it gets damp.
The short version
Build with 3/4-inch plywood, support it at 24 inches or closer, and fasten the ledger into studs with lag screws. Do the load arithmetic before you buy, add a front stiffener on long shelves, and finish all faces. If the wall is concrete, cracked, or full of unknown services, stop and have it checked.
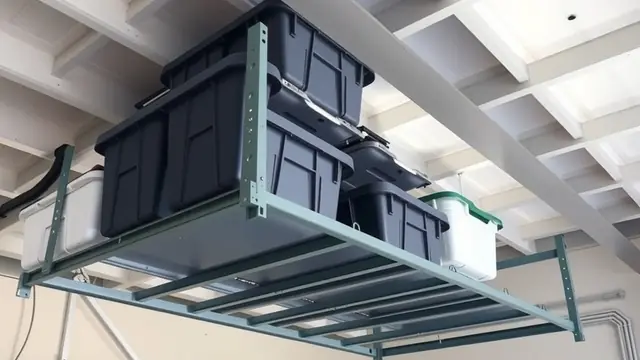
For overhead loads, read how much weight overhead garage storage can hold before you hang anything from the ceiling. For the safety checks that apply to every shelf and rack, see garage storage safety. If you would rather buy than build, compare best garage shelving and the installed costs in garage storage costs.
How to do it
- Measure the wall and mark the studsRecord the usable wall length, ceiling height, and door clearance, then mark every stud center with a stud finder and verify with a magnet.
- Set the shelf depth and spanChoose 16 inches for bins or 24 inches for coolers, and plan a support at every stud or at 24 inches, whichever is closer.
- Cut and assemble the frameRip the plywood, cut the ledger and braces, and pre-drill the frame so the screws pull the joints tight without splitting.
- Anchor the ledger into studsFasten the ledger with lag screws through the drywall and into stud centers, using washers and a pilot hole at each screw.
- Finish the shelf and load it graduallySand, prime, and paint all faces, then load the bottom shelf first and check for sag, movement, or pulled fasteners.
Frequently asked questions
What is the best wood for garage shelves?
Three-quarter-inch plywood is the best balance of strength, cost, and moisture resistance. Avoid MDF and particleboard for shelf surfaces in a garage; they swell when they get damp and sag under sustained load. Sanded pine plywood is fine; exterior-grade glue is better in a humid garage.
How far can a plywood shelf span without sagging?
Supports at 24 inches on center are common for 3/4-inch plywood in garage storage. Longer spans invite sag, especially with dense loads. If you need a 36-inch clear span, use thicker plywood or add a center support and a front stiffener.
Do DIY garage shelves need to be anchored into studs?
Yes. Shelf loads pull down and out on the wall, and drywall alone will not hold that force. Fasten ledgers and brackets into studs, into blocking between studs, or into concrete with masonry anchors. Drywall anchors are for light trim, not storage.
Can I build garage shelves against a concrete wall?
Yes. Use a hammer drill and the anchor type specified for the wall, such as wedge anchors or masonry screws. Keep anchors out of mortar joints in block walls, and use a sleeve anchor designed for hollow block if the wall is hollow. Have cracked or damaged concrete assessed first.
How much weight can a DIY garage shelf hold?
There is no single rating. The answer depends on the plywood thickness, support spacing, fastener size, stud condition, and how the load is distributed. Do the arithmetic for your shelf area and use a conservative planning load, then add fasteners and supports rather than testing the limit.
How do I stop garage shelves from sagging?
Keep supports at 24 inches or closer, use 3/4-inch plywood or thicker, add a front stiffener under the shelf edge, and spread heavy items across the span instead of clustering them in the middle. A 1-by-2 stiffener screwed to the front edge adds stiffness with little weight.
Sources
Some links are affiliate links.If you buy through them we may earn a commission at no extra cost to you. We do not accept payment for rankings. Read the full disclosure.